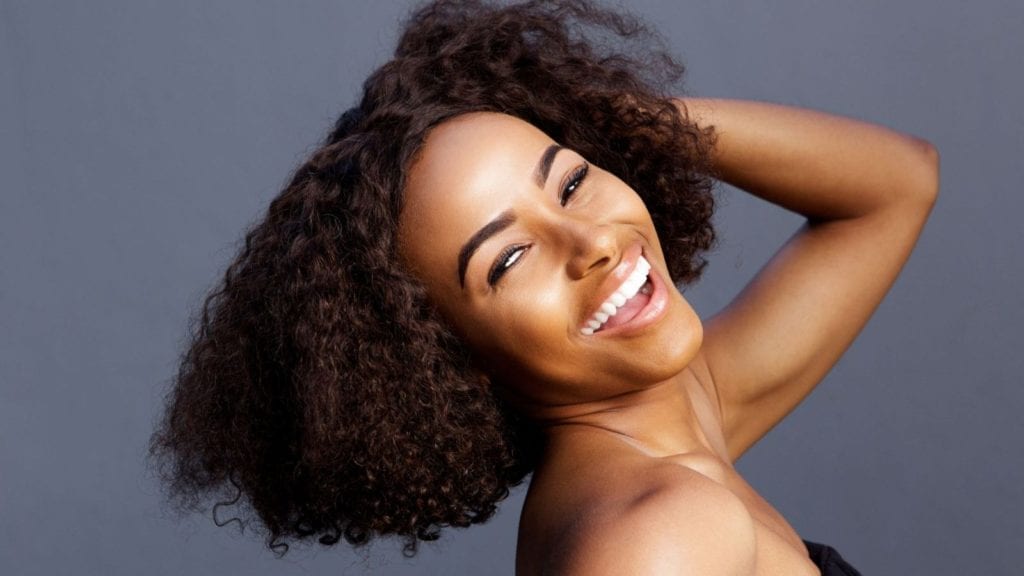
*cue the long dramatic sigh* We feel you girl. It’s just one of those days or weeks where all you want to do is NOTHING. Work is draining. School is stressful. Your man, roommate or kids are bugging you. Everything is pretty much not going your way and you’re OVER it. The LAST thing you want to worry about is what you’re going to do with your hair. We’ve all been there. But for those “eh…” days you still have to stay cute and at least appear “unbothered.” Trying one of these quick, easy and effortless natural hairstyles will help get you through
YouTuber, Kaice Alea, shows us how to achieve 4 different natural hairstyles on wash and go hair, each style done in under 2 minutes, believe it or not. Before you start styling, make sure to lay your foundation. If your hair is freshly washed, make sure to condition, moisturize and seal your hair using the LOC method (liquid, oil, cream), or if you just need to freshen up and re-moisturize your hair, use a curling cream. If your hair has had enough product for the week, these dry styles don’t require any added gel, cream or liquid to achieve. Let’s get started!
Style #1: Top Puff
Time: 20 – 30 seconds What You Need: 1 hair tie
No, we’re not kidding, this natural style takes less than 1 minute to do! Just gather as much of your hair as your like at the front of your head, throw a hair tie around it, and that’s it. Done.

Style #2: 2 Front Buns
Time: 35 – 45 seconds
What You Need: 2 hair ties
Another super quick, but super cute effortless natural hair style! Use your fingers, or a comb if you want a straight part, and part the front of your hair into two sections. Gather one of the front sections and tie one of the hair ties around it, loosely for shorter hair or tighter for longer hair, and create a mini bun. Repeat this step on the other front section of your hair, and you’re done!

Style #3: Front Flat Twist
Time: 40 – 50 seconds
What You Need: 1 bobby pin
This effortless but chic natural hairstyle can be achieved using just 1 bobby pin! Using your fingers, part the lower corner of the front of your hair and gather a little bit of your hair, working your way to a little past the center of your head. Now starting at that point, start flat rolling your hair down working your way back to that initial lower corner. Once you reach the corner, bobby pin the hair you flat rolled back behind your ear. Fluff out the back and you’re ready to go!

Style #4: Frohawk
Time: 60 seconds – 1 minute 15 seconds
What You Need: 6 bobby pins
The frohawk is a classic and cute natural hairstyle that gives you edge and is easy to do. Using your fingers gather your hair into three sections on the side of your head. You should gather one section of hair at a time starting at your edges and working your way up to the crown of your head. You can section your hair starting from the back side of your head and then pin your hair at the top until you reach the front of your head. Repeat these steps on the other side of your head, pinning each section to give the Mohawk look. Fluff the front of your frohawk down and the middle and back up for the final touches.

Now, how quick, easy and simple were those styles?!
So when you’re tired of EVERYTHING, including that same old high ponytail or puff, bun or scarf do try one of these effortless natural hairstyles to help perk you up and get you through the day.